
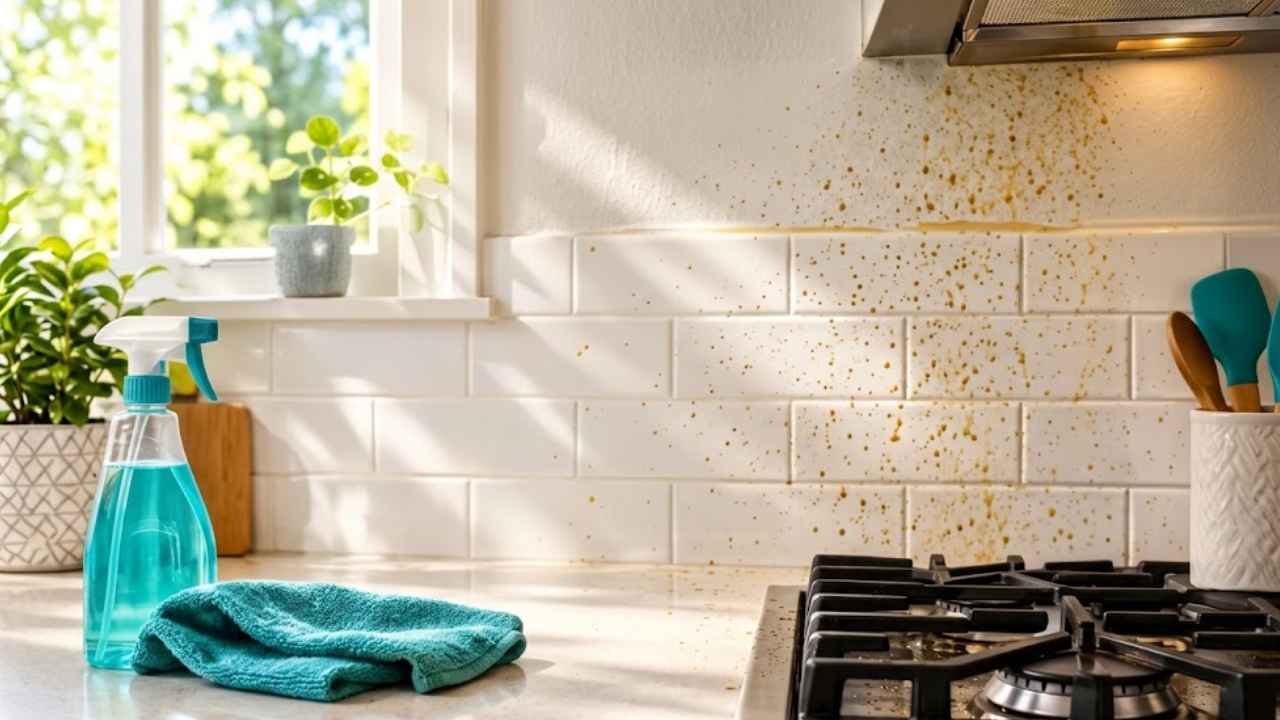
Cooking grease travels farther than most people expect. Studies on indoor air quality show that a single frying session can deposit oily aerosols on surfaces up to six feet from the stovetop, meaning walls that look clean may already be coated in a thin, sticky film. Knowing how to remove grease from kitchen walls safely, without stripping paint or soaking wallpaper, is one of the most practical home-maintenance skills a cook can have.
Key Takeaways
- Always dry-wipe the wall before applying any liquid cleaner to avoid grinding loose dirt into the surface.
- Dish soap and warm water is the safest first-line method for most painted, tiled, or wallpapered walls.
- Spot-test every cleaning solution in a hidden area before treating the full wall.
- Diluted white vinegar and baking soda paste are effective step-up options for stubborn grease.
- Avoid strong solvents and undiluted isopropyl alcohol, they can lift paint film from interior walls.
Why Kitchen Grease Is Harder to Remove Than It Looks
Cooking grease is not just fat. It is a mixture of oxidized oils, moisture, and airborne food particles that bond to wall surfaces over time. Fresh splatters are soft and relatively easy to wipe away. Older deposits, however, polymerize, they harden and become almost varnish-like, which is why a wall that has not been cleaned in several months can feel tacky even after a quick wipe.
The surface material matters just as much as the age of the stain. Glossy or semi-gloss paint handles moisture better than flat or matte paint. Ceramic tile is highly forgiving. Wallpaper is the most delicate and requires the least amount of liquid. Understanding what is on the wall before reaching for a cleaner prevents costly damage.
Essential Tools and Supplies to Have Ready
Gathering the right supplies before starting saves time and protects the wall. The following table covers everything needed for most grease-removal jobs.
| Supply | Purpose | Notes |
|---|---|---|
| Microfiber cloths | Wiping and buffing | Safer than abrasive sponges |
| Mild dish soap (Dawn-style) | First-line degreaser | A few drops in warm water |
| White vinegar | Second-line degreaser | Dilute 1:1 with water |
| Baking soda | Stubborn spot treatment | Mix with water to form paste |
| Spray bottle | Controlled application | Prevents over-wetting |
| Dry soft brush or duster | Pre-cleaning dry dust | Always use before wet cleaning |
How to Remove Grease From Kitchen Walls: A Step-by-Step Method
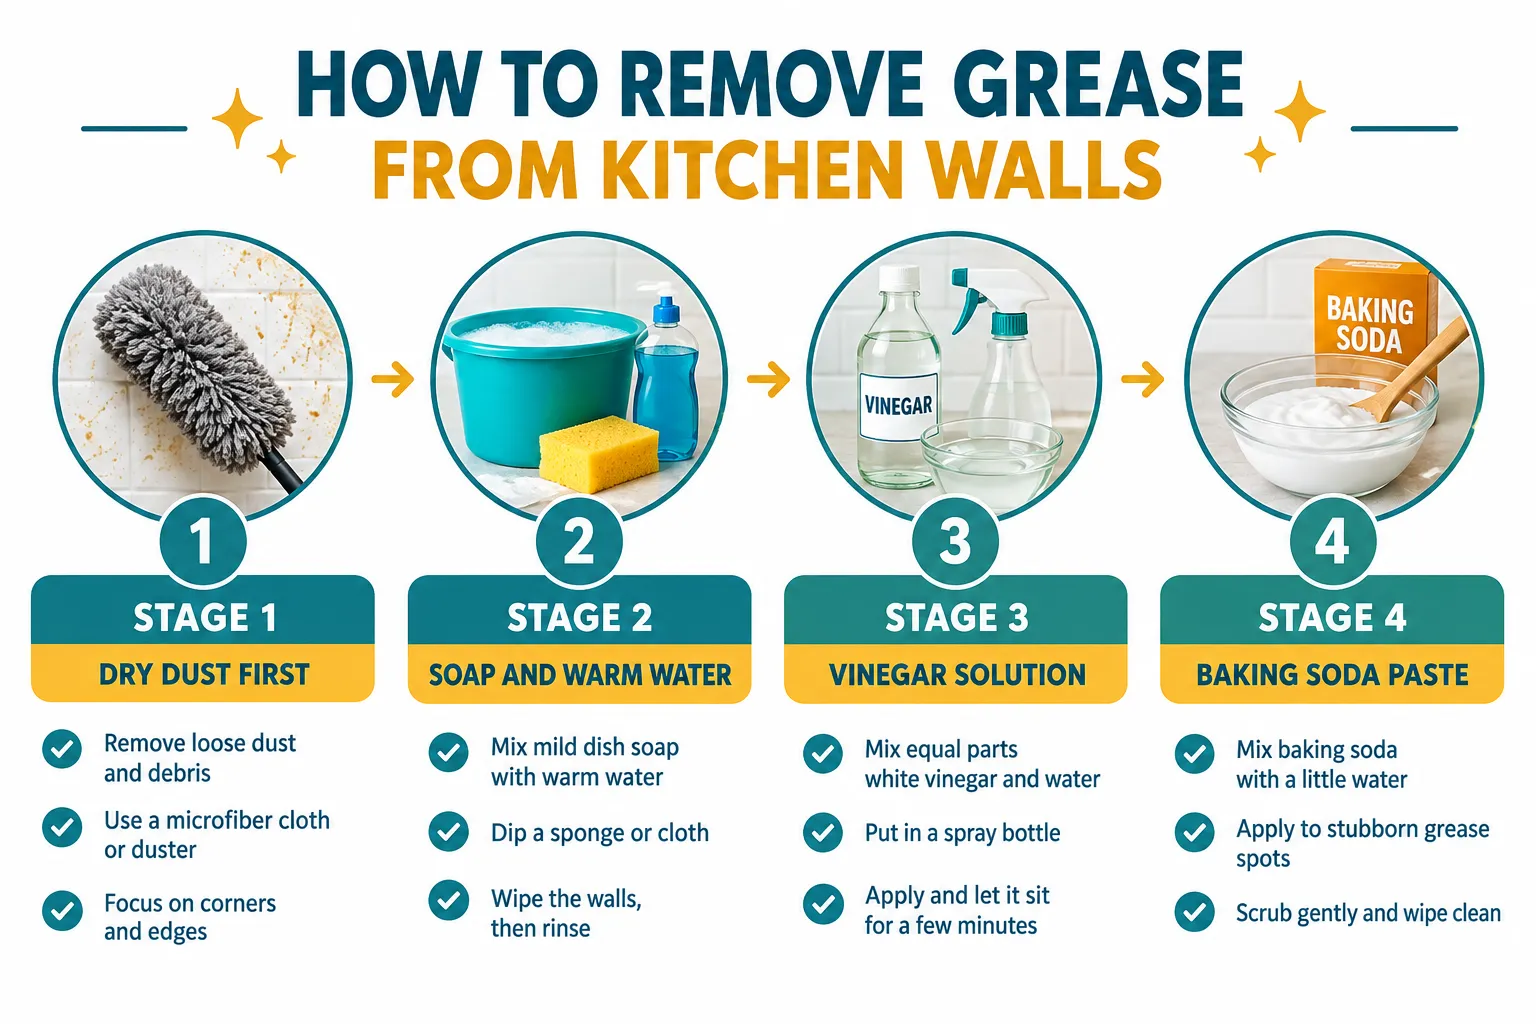
Following a structured process protects the wall finish and gets better results than scrubbing randomly.
Step 1: Dry-Wipe the Wall First
Before any liquid touches the wall, use a dry microfiber cloth or a soft brush to remove loose dust and debris. Skipping this step is a common mistake. Wet cleaning over a dusty surface turns dry particles into a muddy paste that can scratch paint or leave streaks.
Step 2: Spot-Test in a Hidden Area
This step is non-negotiable. Apply a small amount of the chosen cleaner to an inconspicuous spot, behind a door or inside a cabinet edge, and wait two to three minutes. Check for color change, paint lift, or surface dulling before proceeding.
Step 3: Start With Dish Soap and Warm Water
Mix a few drops of mild dish soap into a bowl of warm water. Dampen a microfiber cloth, do not soak it, and wipe the greasy area using gentle, overlapping strokes. Work from the outside of the stain toward the center to avoid spreading it. Rinse the cloth frequently.
“The direction and pressure of wiping matter as much as the cleaner itself. Aggressive scrubbing in random directions is one of the fastest ways to dull a painted wall.”
For most fresh grease splatters, dish soap and warm water will be enough. Rinse the area with a clean damp cloth and dry immediately with a fresh microfiber cloth.
Step 4: Step Up to Diluted White Vinegar
If soap alone does not cut through the grease, diluted white vinegar is the next option. Mix equal parts white vinegar and water in a spray bottle. Mist the stained area lightly, do not drench the wall, and let it sit for one to two minutes. Wipe with a microfiber cloth using the same gentle, inward-stroke technique. Rinse with plain water and dry promptly.
Vinegar is mildly acidic, which helps dissolve oxidized grease. It is safe on most painted surfaces and tile when diluted, but it should be used cautiously on natural stone and avoided entirely on wallpaper.
Step 5: Use Baking Soda Paste for Stubborn Spots
For older, hardened grease deposits that resist both soap and vinegar, a baking soda paste works well. Combine two parts baking soda with one part water to form a thick paste. Apply a small amount directly to the stain, let it sit for five minutes, then gently rub with a damp microfiber cloth using circular motions with minimal pressure.
Baking soda is a mild abrasive. It lifts tough grease without harsh chemicals, but pressing too hard can scuff matte or flat paint finishes. Use it only on the problem spot, not across the entire wall.
Step 6: Consider a Commercial Wall-Safe Degreaser
When home remedies are not enough, particularly on walls near a high-use stovetop, a commercial degreaser such as Simple Green can be used. Always dilute according to the product label, and never apply full-strength formulas to painted walls. Strong solvents and undiluted isopropyl alcohol can lift paint film and are not appropriate for typical interior wall surfaces.
How to Remove Grease From Kitchen Walls Based on Surface Type
Different wall surfaces need different approaches. Here is a quick reference:
- Glossy or semi-gloss paint: Most forgiving. Handles soap, vinegar, and light baking soda use well.
- Flat or matte paint: Most delicate. Use minimal moisture, gentle pressure, and avoid abrasives.
- Ceramic or porcelain tile: Very durable. All methods above are safe; grout lines may need a soft toothbrush.
- Wallpaper: Use only a barely damp cloth with a tiny drop of dish soap. No vinegar, no baking soda, no commercial sprays.
Preventing Grease Buildup Between Cleanings
Removing grease is easier when it does not accumulate. A few simple habits make a significant difference:
- Wipe walls near the stove weekly with a damp microfiber cloth. Light, frequent cleaning prevents the polymerization that makes old grease so difficult to remove.
- Use a splatter screen when frying or sauteing to reduce airborne grease particles.
- Run the range hood at medium or high speed during cooking to capture grease aerosols before they settle.
- Address splatters the same day whenever possible. Fresh grease takes seconds to remove; week-old grease can take 20 minutes.
Final Thoughts
Learning how to remove grease from kitchen walls is less about finding a miracle product and more about using the right technique in the right order. Start dry, spot-test every cleaner, and work up from mild dish soap to vinegar to baking soda paste only as needed. Match the cleaning intensity to the surface type, use minimal moisture, and wipe with controlled strokes rather than aggressive scrubbing.
For ongoing results, make brief weekly wipe-downs a habit near the stove. Consistent light maintenance is far less work, and far less risky to wall finishes, than occasional heavy-duty cleaning sessions. With the right tools and a methodical approach, even stubborn cooking grease comes off cleanly without leaving a mark on the wall or the finish.